I bet you’re thinking that’s a slightly weird flavour combination right there, especially for a sweet bakery item. I know that was my first reaction when I came across this recipe years ago. And then I thought about it for just a little bit longer. And then I made the shortbread, and I was hooked. Actually I can’t believe I’ve never written about this recipe before! It’s delicious, smells amazing, and also isn’t overpoweringly sugary – something about those flavours make this biscuit sweetly savoury, and when you use salted butter instead of unsalted it’s even better.
It was so long ago that I first made these that I can’t even remember where the recipe first came from. I have written about my go-to shortbread recipe before, and this is where it started although the flavour combination can change, but I’ve made a few tweaks over the years. It’s an easy one (I like easy) and you can make the dough ahead of time to bake it when you need it (also useful if you’ve got a lot of things going on at once).
When you roll and cut the biscuit dough you can make it whatever size or thickness that you like, but you may need to adjust the cooking time slightly to suit. A minute or two either way is all it will need.
250g soft butter
2/3 cup icing sugar
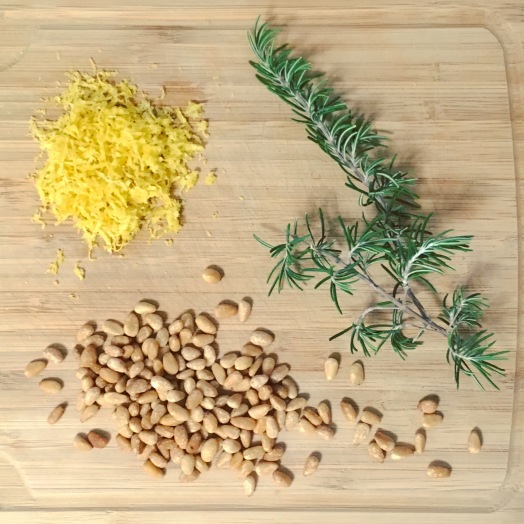
zest of 1 lemon
1 heaped tablespoon finely chopped fresh rosemary
1/2 cup toasted pinenuts
2 cups plain flour (you may need a little extra depending on the dough consistency)
Cream the butter and sugar, add the lemon zest and rosemary and beat well. Add the sifted flour and the nuts, and mix until the dough clumps together. Turn out onto a clean benchtop and knead briefly until the dough comes together and is smooth – you will need to work fairly quickly otherwise the dough gets too soft.
Roll the dough into logs, wrap in glad wrap and refrigerate until firm (an hour or two should do it, but you could make this dough a day or two ahead if you wanted).
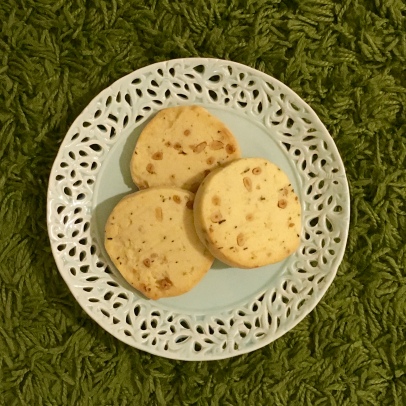
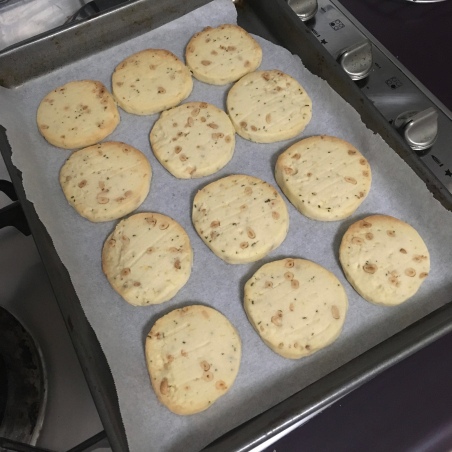
Slice the logs into biscuits, about 7-8mm thick, and bake in a preheated oven at 180C for about 10 minutes. They should be just starting to go golden around the edges, and they will burn quickly so keep an eye on them. They do spread slightly on the tray, but not a lot.
Cool on wire racks and store in an airtight container.